Intella® is a dermal filler that is injected for facial soft tissue augmentation. It contains 55.7% calcium hydroxyapatite microspheres suspended in 20 mg/mL cross-linked sodium hyaluronate gel of non-animal origin. The lidocaine in this product also helps reduce pain during injection.
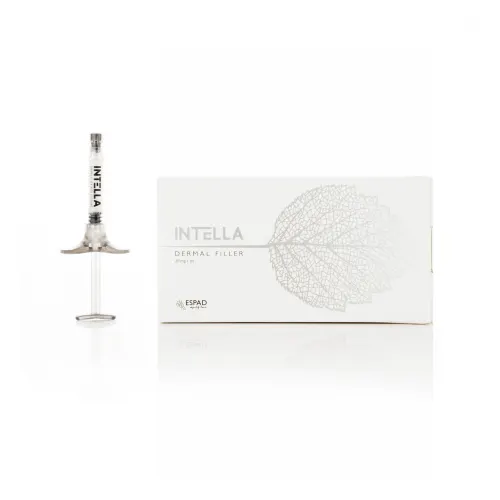
Intella® Dermal Filler
Intella® Dermal Filler
Intella® is a dermal filler designed for facial soft tissue augmentation and should be injected into the deep dermal and sub-dermal skin layers. The lidocaine in the product helps reduce pain during treatment.
Product Information
Product Information
What is Intella®?
How is the mechanism of action of Intella®?
Intella® provides an immediate volumizing effect through hyaluronic acid. Additionally, the calcium hydroxyapatite microspheres form a scaffolding structure that stimulates fibroblasts to produce new collagen.
What are the ingredients of Intella®?
- Calcium hydroxyapatite microspheres with a diameter of 25–45 microns (55.7%)
- Cross-linked sodium hyaluronate gel (20 mg/mL)
- Lidocaine hydrochloride (3 mg/mL)
- Phosphate buffer
What are the indications of Intella®?
Intella® is a dermal filler used for facial soft tissue augmentation and correcting wrinkles, in the following areas:
eyebrows and temple, bridge of the nose, nasolabial folds, marionette lines, chin, cheeks, jawline, and the back of the hands.
How should Intella® be administered?
Different facial regions and the severity of volume deficit affect the injection technique and volume of implant injected.
Insert the needle at an angle of 30° into the deep dermis. The bevel should be oriented downwards to minimize implant deposition into a more superficial plane. Palpate the region with your free hand to confirm insertion of the needle into the skin layer of interest. Superficial injection or deposition of large volumes of the implant may result in discoloration, nodules, or ischemia at the skin surface.
Inject the gel by applying mild continuous pressure on the plunger rod while slowly withdrawing the needle, thus forming a single uniform thread of injected gel inside the tissue (linear threading technique). While correcting deep folds, several threads should be layered in parallel lines beneath the fold. If larger volumes are required, such layers can be deposited on top of each other, the threads of each layer perpendicular to those in the underlying layer (cross hatching technique).
Substantial mechanical resistance to the injection of the implant may be resolved using the following measures: first, horizontally relocate the needle; second, inject from a different entry point; third, replace the needle or even the syringe.
Blanching may indicate injection into a superficial skin layer or a blood vessel. In case of blanching, stop injecting and massage the area until the color returns to normal.
If normal skin color does not return, the injection process should not resume. Vasodilatory or other measures should be considered.
Stop injection before pulling the needle out of the skin to avoid gel leakage into superficial skin layers.
Discard the needle in the appropriate biohazard waste bin.
Repeat the procedure if further correction is necessary, but only after thoroughly assessing the treated area and patient status.
After completing the injection, gently massage the treated area to ensure even distribution of the gel and to mold the gel to the tissue contour.
What does the packaging of Intella® contain?
Each package contains two 1 mL sterile syringes, two 27G x 1/2″ sterile disposable needles, a manual, and a set of tracking labels (one for the patient and one for their file).
What are the advantages of Intella®?
- A stable, inseparable gel
- strong volumizing and lifting effect (immediate and long-lasting effect)
- promotes the generation of natural collagen
- biocompatible and biodegradable
- susceptible to hyaluronidase
How is the storage condition of Intella®?
- Store between 2 to 25℃.
- Store away from sunlight, heat, and freezing.
What is the important safety information about Intella®?
- For single use only. Do not resterilize.
- Only the fluid path and syringe contents are sterile.
- To be used as supplied. Modification of the product may negatively impact its sterility and performance.
- For use under sterile conditions only.
- Must be used prior to the expiration date printed on the package.
• Do not use if the package is open or has been tampered with. - Do not use if device damage (e.g., cracked or broken syringe barrel, open syringe cap, or plunger stopper) is suspected. Discard any damaged devices. The medical practitioner must be familiar with the device and the implantation procedure and technique. While using the device, clinical judgment must be made regarding its application. In all cases, sound medical practice is to be followed by the user.
- Use with caution in patients with a history of herpes or recent dental treatments or infection. Use with caution in patients currently on immunosuppressive therapy.
- Use with caution when injecting in proximity to other implanted dermal fillers.
- Use with caution when injecting into the marionette line and oral commissures. Do not overcorrect to prevent material migration into the lips.
- Allow at least 4 weeks between ultrasound-based treatments, laser or peeling treatments, and use of this product.
- Intella® injection may be accompanied by mild discomfort; administration of anesthetics should be considered.
- As with all transcutaneous procedures, injection of Intella® carries a risk of infection. To reduce this risk, a common practice of such procedures should be followed.
- Intella® should not be used in patients under treatment with substances that can prolong bleeding (e.g., aspirin, anticoagulants, thrombolytics, anti-inflammatories, ACE inhibitors) as increased bruising and bleeding may occur.
- Intella® must not be injected into tissues vulnerable to damage from the volumizing action of dermal fillers.
- Intella® must not be injected into or via scar, cartilage, compromised, infected, or inflamed tissues.
- Do not over-inject. Over-injection may result in mechanical damage to the tissue.
- Hyaluronic acid and quaternary ammonium salts (e.g., benzalkonium chloride) are incompatible. Contact must be avoided.
Before and After Images
Product Attributes
| Product Type | Intella® dermal filler |
| Recommended Indication | Facial soft tissue augmentation, correcting wrinkles |
| Packaging | 2 × 1 mL |
| Concentration | 20 mg/mL HA |
FAQs
Usage Experience
Customer Service
If you need to contact Espad Pharmed, please submit your request.
Contact Us
Tel: (+98) 021-44631124
Email: info@espadpharmed.com
Office: Third floor, Espad Pharmed, No. 56, Azimi St., Nafisi St., Ekbatan, Tehran
Company: Simin Dasht, Karaj, Alborz, Iran
Product Brands
© 2025, Espad Pharmed – All Rights Reserved.